Download this free guide to make your own Cuddle Bunny!
How to Knit a Cuddle Bunny
Create a soft and cuddly knitted bunny comfort toy using Lincraft Baby Blanket yarn. This beginner-friendly project is knitted in one piece, with the body, paws and head shaped using simple knitting techniques.
The unique construction creates a double-knitted head, giving the bunny a soft rounded shape. Add embroidered facial features and light stuffing to complete this adorable handmade companion.
Project: Cuddle Bunny
Pattern: A454
Craft type: Knitting
Difficulty: Easy
Finished size: Approximately 38cm high
What You Will Need
Materials
- Lincraft Baby Blanket Yarn – 1 x 300g ball
- Washable filling
- Small amount of black yarn for embroidered face
Equipment
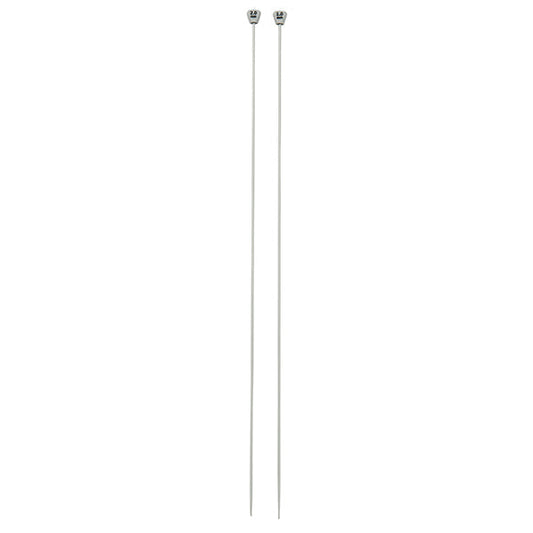
- 9mm knitting needles
- 4.5mm knitting needles
- Wool needle for sewing and embroidery
- Scissors
Alternative Yarns
This cuddle bunny is designed using Lincraft Baby Blanket yarn, which gives the toy its soft chenille texture and cuddly finish. When choosing an alternative yarn, select a soft, plush yarn suitable for toys.
- Chenille Yarn – creates a velvety, extra-soft finish.
- Super Chunky Yarn – provides a plush texture and quick knitting experience.
- Soft Acrylic Yarn – easy-care and suitable for washable toys.
- Velvet Yarn – creates a luxurious tactile finish.
Measurements
- Height: approximately 38cm
Tension
Tension is not important for this project.
Knitting Abbreviations
- K: knit
- P: purl
- K2tog: knit two stitches together
- Inc: increase
- Dec: decrease
- M1: make one stitch increase
- Sl: slip stitch
- St(s): stitch(es)
Construction Overview
The Cuddle Bunny is made in four stages:
- Knit the body and paws.
- Shape the head.
- Knit the ears.
- Stuff, close and add embroidered details.
Knit the Bunny Body
- Using 9mm needles, cast on 1 stitch.
-
Row 1:
Knit into the front and back of the stitch.
2 stitches. - Row 2: Increase in first stitch, knit 1.
- Row 3: Increase in first stitch, knit to end.
- Repeat Row 3 three more times until 7 stitches remain.
-
Row 7:
Knit 3, make one stitch, knit to end.
8 stitches. - Repeat Row 7 until there are 20 stitches.
Create the Paws
-
Cast on 6 stitches at the beginning of the next two rows.
32 stitches. - Knit 6 rows in garter stitch.
-
Cast off 6 stitches at the beginning of the next two rows.
20 stitches. - Decrease one stitch at the beginning of every row until 14 stitches remain.
Shape the Head
- Change to 4.5mm needles.
-
Row 1:
K2tog across the row.
7 stitches. -
Row 2:
Increase once in each stitch.
14 stitches. - Row 3: Repeat: P1, slip 1 across the row.
- Repeat Row 3 until the head measures approximately 9cm.
Shape the Ears
The ears are knitted sideways from the head section.
- Purl two stitches together.
- Return stitch to left needle.
- Cast on 8 stitches.
- Purl two stitches together, then purl 7 stitches.
- Continue following the ear shaping rows until the first ear is complete.
- Repeat for the second ear.
Finishing
- Cut a 25cm length of yarn.
- Thread yarn through alternate stitches on the needle.
- Thread yarn back through the remaining stitches.
- Remove knitting needles.
- Lightly stuff the head.
- Pull yarn tightly to close the top of the head and secure.
Add the Face
- Use black yarn to embroider the face.
- Add eyes and facial details using straight stitches.
- Secure all embroidery ends firmly.
Finish the Paws
- Tie a knot in each paw to create definition.
- Sew in all remaining yarn ends.
Customisation Ideas
- Use different Baby Blanket yarn colours for unique bunnies.
- Add embroidered names or initials.
- Create a matching bunny family in different sizes.
- Add a small embroidered nose or whiskers.
- Use leftover yarn to create a matching blanket.
Care
Follow the care instructions for your chosen yarn.
If washable filling is used, gently hand wash and reshape the bunny while damp. Allow to dry completely before use.