This trendy Stripe Beanie goes perfectly for any basic daily outfit. Download this free guide now and create yours!
How to Crochet a Striped Beanie
Create a cosy handmade beanie with this easy crochet project. The Crocheted Striped Beanie uses simple treble crochet stitches combined with front post and back post treble stitches to create a textured striped design.
Worked in three colours of Lincraft Imperial yarn, this beanie features a stretchy rib-style band and a comfortable fit designed for everyday wear.
Project: Crocheted Striped Beanie
Pattern: A605
Craft type: Crochet
Difficulty: Easy
Sizes: S/M and M/L
What You Will Need
Materials
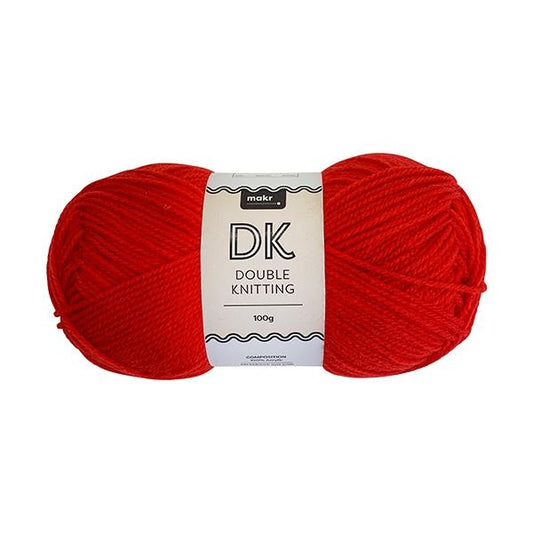
- Lincraft Imperial Yarn – 100g balls
- 1 ball each of three colours: Colour 1 (C1), Colour 2 (C2) and Colour 3 (C3)
Equipment
- 4mm crochet hook
- Wool needle for sewing in ends
- Scissors
- Stitch marker (optional)
Alternative Yarns
This beanie is designed using Lincraft Imperial yarn. When choosing an alternative yarn, select a similar weight yarn to maintain the stitch definition, stretch and finished size.
A yarn with good elasticity will help the ribbed band sit comfortably around the head.
- 8ply Acrylic Yarn – durable, easy-care and available in a wide range of colours.
- Merino or Wool Blend Yarn – provides warmth and natural insulation.
- Cotton Blend Yarn – lighter and suitable for transitional weather.
- Soft Baby Yarn – creates a lightweight, comfortable alternative.
Measurements
- S/M: Fits head approximately 50cm | Length approximately 25cm
- M/L: Fits head approximately 57cm | Length approximately 26cm
Tension
Using a 4mm crochet hook:
- 14 treble crochet stitches x 9 rounds = 10cm over treble crochet
Crochet Abbreviations
- ch: chain
- tr: treble crochet
- sl st: slip stitch
- st: stitch
- mr: magic ring
- fptr: front post treble stitch
- bptr: back post treble stitch
Construction Overview
The beanie is crocheted from the top down:
- Create the crown using increasing treble crochet rounds.
- Continue working the striped body pattern.
- Add the ribbed lower band using post stitches.
- Secure loose ends and finish.
Create the Beanie Crown
- Using Colour 1 and a 4mm crochet hook, make a magic ring.
- Round 1: Chain 3 (counts as first treble crochet), then work 9 treble crochet stitches into the magic ring. Slip stitch to join.
- Continue increasing evenly each round to create the circular crown.
- Work through the increase rounds until the required stitch count is reached for your chosen size.
Work the Striped Pattern
Once the crown shaping is complete, continue with the striped texture pattern.
- Work rounds of treble crochet using the required colour changes.
- Use front post treble and back post treble stitches to create the raised rib texture.
- Continue repeating the six-round stripe pattern.
- Work additional pattern repeats until the beanie reaches the required length.
Understanding Post Stitches
- Front Post Treble (fptr): Insert the hook around the post of the stitch from the front before completing the treble crochet.
- Back Post Treble (bptr): Insert the hook around the post of the stitch from the back before completing the treble crochet.
Create the Rib Band
- Using Colour 1, begin the rib band round.
- Work alternating front post treble and back post treble stitches around the beanie.
- Repeat the rib round two more times.
- Fasten off securely.
Finishing
- Sew in all loose yarn ends using a wool needle.
- Gently reshape the beanie if required.
- Check the band stretches comfortably before wearing.
Customisation Ideas
- Use different colour combinations for a personalised design.
- Create a two-colour version for a simpler striped look.
- Add a pom pom to the crown.
- Make matching scarves or mittens.
- Use seasonal colours for winter gifts.
Care
Follow the care instructions for your chosen yarn. Hand washing and gentle handling are recommended where required.
Reshape the beanie while damp and allow it to dry flat to help maintain its shape.