Create cute Swedish Genomes that are perfect decors for the Christmas season using Lincraft DK Yarns! Just follow this downloadable How To pattern.
How to Knit a Swedish Christmas Gnome
Create a charming knitted Swedish gnome with a rounded body, long pointed hat, soft beard and simple outstretched arms. The head and body are worked as one continuous flat piece, while the arms, hat, nose and beard are knitted separately and sewn into position.
The finished gnome makes a cheerful Christmas decoration, handmade gift or festive table display. A small pompom may be added to the top of the hat for an extra pop of colour.
Project: Swedish Gnome
Pattern: A702
Craft type: Knitting
Difficulty: Easy
Finished Measurements
| Approximate height | 26 cm |
|---|---|
| Approximate width | 12 cm |
What You Will Need
Yarn
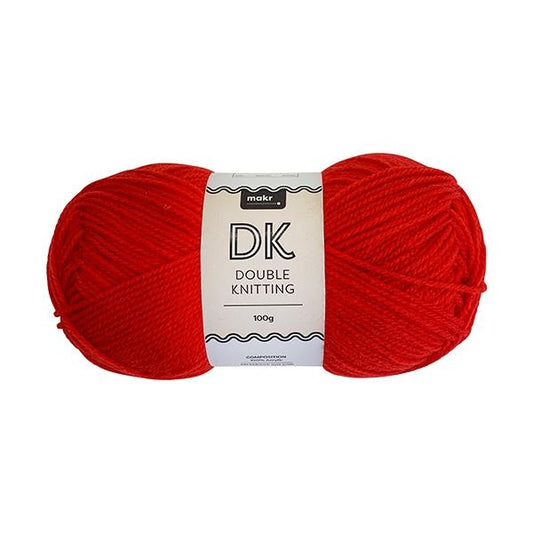
The original pattern uses Lincraft DK 8 Ply yarn:
- Main colour: Sky blue, 1 × 100 g ball
- Colour 1: White, 1 × 100 g ball
- Colour 2: Marle grey, 1 × 100 g ball
Needles and Equipment
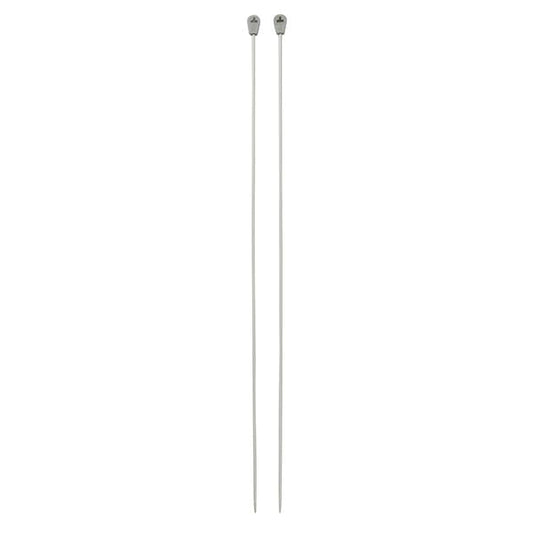
- One pair of 3.25 mm knitting needles
- Wool needle for seaming and assembly
- Siliconised toy stuffing
- Pompom maker, if adding the optional hat pompom
- Scissors
- Dressmaking pins or clips
Tension
Exact tension is not essential for this project. However, the knitted fabric should be firm enough to contain the stuffing without visible gaps.
Use a smaller needle if the fabric feels too loose. A substantial change in tension will affect the finished size and yarn quantity.
Abbreviations
- K: Knit
- P: Purl
- K2tog: Knit two stitches together
- Kfb: Knit into the front and back of the same stitch
- M1: Make one stitch
- St or sts: Stitch or stitches
- St st: Stocking stitch
- Garter st: Knit every row
Construction Overview
The gnome is made from the following pieces:
- One combined head and body
- Two arms
- One pointed hat
- One nose
- One beard
- One optional pompom
Every piece is knitted flat. The pieces are then seamed, stuffed and assembled.
Head and Body
Begin the Head
Using Colour 1 and 3.25 mm needles, cast on 11 stitches.
- Row 1: Knit.
- Row 2: Purl.
- Row 3: Knit into the front and back of every stitch.
You should have 22 stitches.
- Row 4: Purl.
- Row 5: Increase one stitch, knit one; repeat across.
You should have 33 stitches.
Work three rows in stocking stitch, beginning with a purl row.
Widen the Head
On Row 9, repeat knit one, increase one, knit one across the row.
You should have 44 stitches.
Work nine rows in stocking stitch, beginning with a purl row.
Shape the Lower Head
- Row 19: Repeat knit one, knit two together, knit one.
You should have 33 stitches.
- Row 20: Purl.
- Row 21: Repeat knit one, knit two together.
You should have 22 stitches.
Purl the next row, then continue directly into the body without casting off.
Knit the Body
Change to the main colour and work six rows in stocking stitch.
Increase the Body
- Body Row 7: Increase one stitch, knit one; repeat across.
You should have 33 stitches.
Work five rows in stocking stitch.
- Body Row 13: Repeat knit one, increase one, knit one.
You should have 44 stitches.
Work five rows in stocking stitch.
- Body Row 19: Repeat knit one, increase one, knit two.
You should have 55 stitches.
Work 11 rows in stocking stitch.
Shape the Lower Body
- Body Row 31: Repeat knit two, knit two together, knit one.
You should have 44 stitches.
Work three rows in stocking stitch.
- Body Row 35: Repeat knit one, knit two together, knit one.
You should have 33 stitches.
Work three rows in stocking stitch.
- Body Row 39: Repeat knit one, knit two together.
You should have 22 stitches.
- Body Row 40: Purl.
- Body Row 41: Knit two together across.
You should have 11 stitches.
Cut the yarn, leaving a tail approximately 40 cm long. Thread the tail through the remaining stitches, draw them together and secure firmly.
Arms
Make two matching arms.
- Using the main colour, cast on 12 stitches.
- Work ten rows in stocking stitch.
- Change to Colour 2.
- Work six rows in stocking stitch.
- On the next knit row, knit one, knit two together, knit to the final three stitches, knit two together and knit one.
You should have 10 stitches.
Purl the next row.
Cut the yarn, leaving a 40 cm tail. Thread it through the remaining stitches, pull firmly and secure.
Hat
Using Colour 2 and 3.25 mm needles, cast on 48 stitches.
Work 14 rows in stocking stitch.
Shape the Pointed Hat
- Row 15: Repeat knit two, knit two together, knit two.
You should have 40 stitches.
Work five rows in stocking stitch.
- Row 21: Repeat knit two, knit two together, knit one.
You should have 32 stitches.
Work five rows in stocking stitch.
- Row 27: Repeat knit one, knit two together, knit one.
You should have 24 stitches.
Work five rows in stocking stitch.
- Row 33: Repeat knit one, knit two together.
You should have 16 stitches.
Work five rows in stocking stitch.
- Row 39: Repeat knit one, knit two together, knit one.
You should have 12 stitches.
Work five rows in stocking stitch.
- Row 45: Knit two together across.
You should have 6 stitches.
Cut the yarn, leaving a 40 cm tail. Thread through the remaining stitches, draw up tightly and secure.
Nose
- Using Colour 1, cast on 12 stitches.
- Work four rows in stocking stitch.
- Cut the yarn, leaving a 40 cm tail.
- Thread the tail through the remaining stitches and pull firmly.
The small knitted rectangle is gathered and shaped into a rounded nose during assembly.
Beard
Using Colour 1, cast on 2 stitches.
- Row 1: Knit.
- Row 2: Knit one, make one, knit one.
You should have 3 stitches.
Knit two rows in garter stitch.
On the next increase row, knit one, make one and knit to the end.
Repeat the established three-row sequence six more times until 10 stitches remain.
Knit eight rows in garter stitch.
On the final increase row, knit five, make one and knit five.
You should have 11 stitches.
Cast off, leaving a long tail for attachment.
Assembling the Gnome
Seam and Stuff the Head and Body
- Fold the combined head and body piece with the right sides facing.
- Sew the back seam, adding stuffing gradually as you work.
- Shape the head and body separately by distributing the stuffing around the narrower neck section.
- Add extra filling before closing the final opening.
- Secure the lower gathered edge firmly.
The body should be firmly filled so it can sit upright, while the head may be slightly softer.
Attach the Beard and Nose
- Pin the beard centrally to the front of the head.
- Position the wide edge near the lower face and allow the pointed end to extend down over the body.
- Sew the upper beard edge securely to the head.
- Gather the nose piece into a rounded shape and add a small amount of stuffing if desired.
- Position the nose immediately above the beard and sew it securely in the centre.
Seam and Attach the Arms
- Fold each arm with the right sides facing.
- Sew the long seam.
- Turn the arm right side out.
- Add a small amount of stuffing.
- Close the upper opening securely.
- Position one arm on each side of the body and sew firmly in place.
The grey section forms the mitten at the end of each arm.
Seam and Attach the Hat
- Fold the hat with the right sides facing and sew the back seam.
- Turn the hat right side out.
- Add a small amount of stuffing to the pointed section so it retains its shape.
- Allow the lower edge to roll naturally into a cuff.
- Fit the hat over the head so it sits low above the nose, as shown in the source photograph.
- Pin the rolled cuff into position and sew it securely to the head.
Add the Optional Pompom
Make a small pompom in the main colour and trim it into a neat round shape.
Sew it firmly to the pointed tip of the hat, passing through the centre tie several times.
Final Finishing
- Remove all pins.
- Check every seam and attachment.
- Weave in all visible yarn ends.
- Adjust the stuffing to smooth the head and body.
- Shape the hat point, beard and arms by hand.
- Check that the gnome sits upright without tipping.
Alternative Yarns for This Project
A suitable substitute should be a smooth DK or 8 ply yarn that creates a dense fabric on 3.25 mm needles.
- 8 ply anti-pilling acrylic – affordable, washable and available in a broad range of colours.
- 8 ply wool and acrylic blend – creates a soft gnome with good resilience and shape recovery.
- 8 ply machine-washable wool – provides a warm, natural appearance.
- 8 ply cotton – produces a firmer, more structured decoration with clear stitch definition.
- 8 ply cotton and acrylic blend – balances structure, softness and easy care.
Choosing the Best Substitute
Smooth yarns make the shaping and seaming easier to see. Acrylic and wool blends provide flexibility, while cotton creates a firmer ornament that may sit more upright.
Avoid very fluffy, boucle or loosely spun yarns, as they may obscure the small knitted pieces and allow stuffing to show through.
Colour Ideas
- Sky blue body, white beard and grey hat
- Red body, cream beard and forest-green hat
- Natural body, white beard and mustard hat
- Dusty pink body, cream beard and burgundy hat
- Sage-green body, white beard and oatmeal hat
- Navy body, silver-grey beard and red hat
- Neutral body with a brightly coloured pompom
Alternative Uses
- Christmas table decoration
- Festive shelf or mantel display
- Handmade Christmas gift
- Seasonal nursery decoration
- Window display
- Part of a larger collection of knitted gnomes
Care and Storage
Spot clean the finished gnome where possible. When washing is necessary, follow the care instructions for the selected yarn and make sure the stuffing dries completely.
Store the gnome upright in a dry container between seasons. Support the hat point and pompom so they are not crushed.