Keep little hands toasty and warm with these baby mittens!
How to Knit Baby Mittens
Knit a cosy pair of baby mittens in the round using double-pointed needles. The pattern includes a ribbed cuff, shaped hand and separate thumb for a comfortable fit.
A printed or self-striping yarn will create the multicoloured effect shown in the project image, while a solid shade will give the mittens a classic finish.
Project Details
- Project number: 1349
- Difficulty: Intermediate
- Technique: Knitting in the round
- Quantity: Make one right mitten and one left mitten
What You Will Need
Yarn
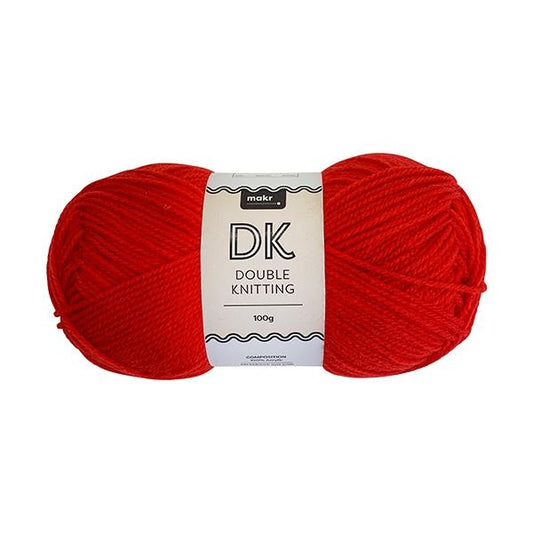
- 1 ball of Lincraft Double Knitting yarn
Needles and Equipment
- Set of four 3.25 mm double-pointed knitting needles
- Stitch holder
- Yarn needle
Alternative Yarns
The original pattern uses double knitting yarn. A suitable replacement should be a smooth DK or 8 ply yarn that works comfortably on 3.25 mm needles and creates a firm fabric without being stiff.
- Machine-washable 8 ply wool: A warm and practical choice for baby accessories, particularly when frequent washing is required.
- Merino 8 ply: Creates soft, warm mittens with good elasticity and stitch definition.
- Acrylic 8 ply: An easy-care and economical option that is suitable for everyday wear.
- Wool and acrylic blend: Combines warmth and resilience with easier washing and reduced shrinkage.
- Self-striping or printed 8 ply yarn: The closest alternative for recreating the striped colour effect shown in the finished mittens.
Choose a soft, non-shedding yarn suitable for use against a baby’s skin. Avoid yarns with sequins, metallic fibres, loose fluff or other detachable embellishments.
Knitting Abbreviations
- K: knit
- P: purl
- K2tog: knit two stitches together
- M1: make one stitch
- St: stitch
- Sts: stitches
- Rep: repeat
Begin the Mitten
- Cast on 28 stitches.
- Divide the stitches evenly across three double-pointed needles.
- Join to work in the round, taking care not to twist the stitches.
- Work 8 rounds in K1, P1 rib.
Shape the Wrist and Hand
- Next round: Work *K2, K2tog; repeat from * around. 21 stitches remain.
- Knit 3 rounds.
- Next round: Work *K3, M1; repeat from * around, then K1. 28 stitches.
- Knit 9 rounds.
Create the Thumb Opening
Right Mitten
- Knit 1 stitch.
- Place the next 5 stitches onto a stitch holder.
- Cast on 5 stitches using the backwards-loop method.
- Continue knitting around.
Left Mitten
- Knit 22 stitches.
- Place the next 5 stitches onto a stitch holder.
- Cast on 5 stitches using the backwards-loop method.
- Knit the final stitch to complete the round.
There should be 28 stitches on the needles after creating the thumb opening.
Complete the Hand
- Knit 14 rounds.
- Next round: Work *K2tog, K2; repeat around. 21 stitches remain.
- Knit 1 round.
- Next round: Work *K1, K2tog; repeat around, finishing with K1. 14 stitches remain.
- Next round: Work K2tog around. 7 stitches remain.
- Cut the yarn, leaving a tail.
- Thread the yarn through the remaining stitches.
- Draw the stitches together firmly and fasten off securely.
Knit the Thumb
- Return the 5 held thumb stitches to a double-pointed needle.
- Knit across the held stitches.
- Pick up one stitch at each side of the thumb opening.
- Pick up 6 stitches across the cast-on edge.
- You should now have 13 thumb stitches.
- Distribute the stitches evenly across three double-pointed needles.
- Knit 9 rounds.
- Next round: Work *K1, K2tog; repeat around. 9 stitches remain.
- Cut the yarn and thread it through the remaining stitches.
- Draw the stitches together and fasten off securely.
- Use the yarn tail to close any small gap beside the thumb.
Finish the Mittens
- Weave in all loose yarn ends securely on the inside.
- Check the thumb joins and shaped tips for any small gaps.
- Gently shape the mittens by hand.
- Make the second mitten, following the opposite thumb-placement instructions.
Baby Safety
Make sure all yarn ends are securely woven in and that there are no loose loops, buttons, cords or embellishments.
Check the mittens regularly for signs of stretching, loose fibres or damage. Remove them during sleep and whenever the baby is not being supervised.
When substituting yarn, knit a small tension sample and compare it with the original project. A thicker or thinner yarn may change the finished size and fit.