How to Knit a Baby Layette Set
Knit a coordinated baby layette featuring relaxed-fit pants, a striped raglan sweater and a matching beanie. The set is designed for comfort and can be worn together or as separate pieces.
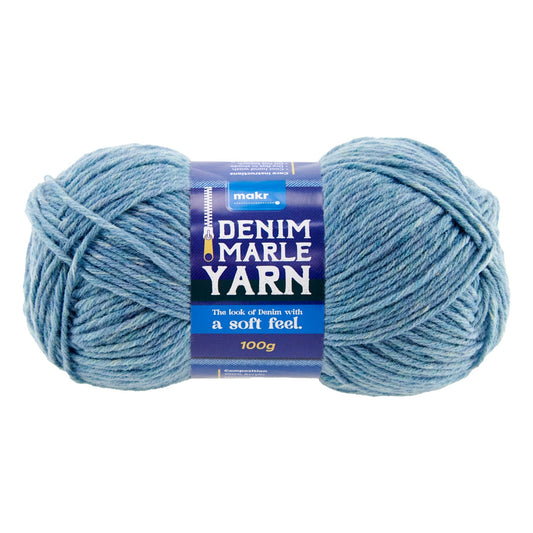
The pattern includes five sizes, from newborn through to 12–18 months, and uses Makr Denim Marle yarn in a main colour and contrasting shade.
Project Details
- Project number: P198
- Difficulty: Easy knit
- Sizes: 0–3, 3–6, 6–9, 9–12 and 12–18 months
- Set includes: Pants, raglan sweater and beanie
Finished Measurements
- Chest: 40 (43–46–49–51) cm
- Waist: 41 (44–47–50–52) cm
- Height: up to 52 (60–73–76–80) cm
- Head circumference: 35 (40–43–45–48) cm
What You Will Need
Yarn
- Makr Denim Marle main colour: 1 (2–2–2–2) × 100 g balls
- Makr Denim Marle contrast colour: 1 (1–1–2–2) × 100 g balls
Needles and Equipment
- 4.00 mm circular needle, 80 cm or longer
- 3.75 mm circular needle, 80 cm or longer
- Set of 3.75 mm double-pointed needles
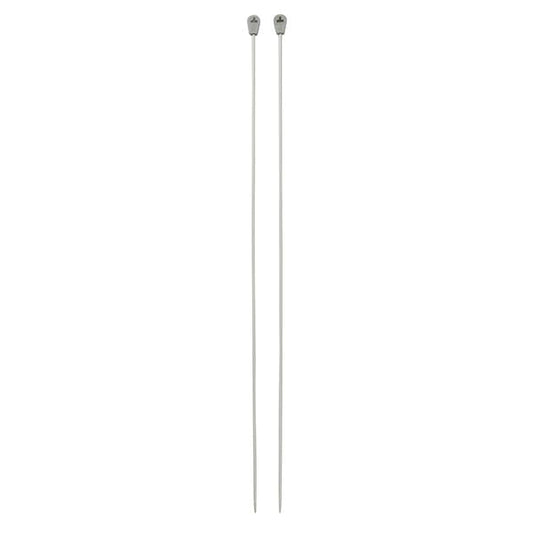
- Pair of 3.75 mm knitting needles
- Pair of 4.00 mm knitting needles
- Stitch markers
- Stitch holders
- Wool needle for sewing in ends
- 3 buttons for the sweater shoulder opening
Tension
22 stitches and 30 rows to 10 cm over stocking stitch using 4.00 mm needles.
Knitting Abbreviations
- K: knit
- P: purl
- Ktbl: knit through the back loop
- Ptbl: purl through the back loop
- K2tog: knit two stitches together
- K2togtbl: knit two stitches together through the back loops
- K3tog: knit three stitches together
- Rib: work in the established rib pattern
- Rib2tog: work two stitches together in rib to decrease one stitch
- YO: yarn over
- Sl1: slip one stitch purlwise
- RS: right side
- WS: wrong side
Size Instructions
The first stitch count applies to the 0–3 month size. Figures in brackets apply to the larger sizes in this order: 3–6, 6–9, 9–12 and 12–18 months.
Knit the Pants
Make two matching leg pieces before joining and finishing the waistband and cuffs.
Begin the Waistband
- Using 3.75 mm needles and the contrast colour, cast on 49 (51–55–57–59) stitches.
- Row 1: K1, *Ktbl, P1; repeat from * to the end.
- Row 2: *K1, Ptbl; repeat from * to the final stitch, K1.
- Repeat Rows 1 and 2 until the ribbing measures 2 cm, finishing with a wrong-side row.
- Work the eyelet row as written in the original pattern to create six openings for the waist tie.
- Continue in twisted rib until the waistband measures 4 cm, increasing one stitch at the centre of the final row to give 50 (52–56–58–60) stitches.
Shape the Back
- Change to 4.00 mm needles and work two rows in stocking stitch.
- Work the short-row sequence given in the pattern, turning after progressively fewer stitches to create extra height through the back.
- Continue in stocking stitch until the centre-front measurement is 18 (18.5–19–19.5–20.5) cm.
Shape the Crotch and Leg
- Increase one stitch at each end of the next row and following alternate rows twice.
- Cast on two stitches at the beginning of each of the next two rows and place a marker.
- Work 12 rows without shaping.
- Decrease one stitch at each end at the intervals specified for the chosen size until the correct stitch count remains.
- Continue without shaping until the work measures 8 (10–11–13–16) cm from the marker.
- Decrease three stitches evenly across the next row.
- Work the cuff in twisted rib for 5 (5–6–6–6) cm.
- Cast off loosely in rib.
Finish the Pants
- Repeat the instructions to make the second leg.
- Join the centre-front, centre-back and inner-leg seams.
- Thread a knitted or twisted cord through the six waistband eyelets.
- Secure and weave in all loose ends.
Knit the Raglan Sweater
Begin the Body
- Using the main colour and 3.75 mm circular needle, cast on 106 (110–114–118–122) stitches.
- Join to work in the round, taking care not to twist the stitches.
- Work ten rounds of twisted rib.
- Change to 4.00 mm needles and work six rounds in stocking stitch.
- Work two rounds in the contrast colour and two rounds in the main colour.
- Repeat the four-round stripe pattern until the body measures 15 (16–18–19–20) cm, finishing after two contrast rounds.
Divide for the Armholes
- Cast off stitches at each underarm as specified in the pattern.
- Work the back and front separately, placing the unused stitches on stitch holders.
- Shape the raglan armholes by decreasing near each edge on alternate rows.
Shape the Back
- Continue the stripe pattern through the first raglan decreases.
- Change to the main colour and continue decreasing until 23 (23–25–25–25) stitches remain.
- Place the remaining stitches on a holder for the neckband.
Shape the Front and Neck
- Work the front armhole shaping to match the back.
- Continue until 35 (37–37–39–39) stitches remain.
- Work the left neck shaping, leaving the centre stitches on a holder.
- Decrease at the neck and raglan edges until three stitches remain, then knit them together and fasten off.
- Rejoin the yarn and work the right neck shaping to match.
Knit the Sleeves
Make two matching sleeves.
- Using the main colour and 3.75 mm needles, cast on 27 (29–31–33–37) stitches.
- Change to 4.00 mm needles and work four rows in stocking stitch.
- Increase one stitch at each end of the next row.
- Work ten further rows in stocking stitch.
- Begin the stripe pattern while increasing at both ends at the intervals given for the selected size.
- Continue until the sleeve measures 16 (18–19–20–21) cm, finishing after two contrast rows.
- Cast off two stitches at the beginning of the next two rows.
- Shape the raglan by decreasing at each end on alternate rows.
- Continue in the main colour until 7 (7–7–9–9) stitches remain.
- Place these stitches on a holder for the neckline.
Assemble the Sweater
- Sew the raglan seams, leaving the left-front raglan seam open.
- Sew the sleeve and side seams.
- With the main colour and 3.75 mm circular needle, pick up the neck-edge stitches and knit across the stitches held for the front, sleeves and back.
- Work the neckband in twisted rib, then cast off in rib.
Add the Shoulder Plackets
- Pick up stitches along one side of the open left raglan edge.
- Work the button placket in twisted rib and cast off.
- Pick up stitches along the opposite raglan edge.
- Work the matching buttonhole band, forming three buttonholes in the row specified by the pattern.
- Sew three buttons to correspond with the buttonholes.
Knit the Beanie
Work the Cuff
- Using 3.75 mm double-pointed needles or a circular needle, cast on 60 (66–72–78–84) stitches.
- Join to work in the round, taking care not to twist.
- Work twisted rib for 8 (8–8–8–10) rounds.
Knit the Beanie Body
- Work in stocking stitch, knitting every round.
- Continue until the beanie measures 8 (9–9–10–10) cm.
- Decrease evenly across the final round where directed for the chosen size.
Shape the Crown
- Work a sequence of evenly spaced knit-two-together decreases.
- Begin with *K2tog, K5* and progressively reduce the number of knit stitches between decreases.
- Continue until only 4 (5–5–6–6) stitches remain.
- Cut the yarn, thread it through the remaining stitches and draw them together tightly.
- Fasten off securely and weave in all ends.
Finish the Layette
- Sew all remaining seams using a wool needle.
- Weave in every loose yarn end.
- Gently block the sweater, pants and beanie to their finished measurements.
- Check that all buttons, ties and seams are firmly secured before use.
Helpful Tips
Check your tension before beginning, as a difference in gauge will affect both the finished fit and the amount of yarn required.
Use yarn from the same dye lot for each colour to avoid visible variations between sections.
Secure buttons extremely firmly and inspect them regularly, as loose buttons can present a choking hazard to babies and young children.