INTERMEDIATE KNIT
Difficulty
Intermediate
Measurements
| 3-4 yrs | 4-5 yrs | 6-7 yrs | |
|---|---|---|---|
| Shoulder Circumference | 54cm | 59cm | 64cm |
| Body Length | 49cm | 54cm | 59cm |
Yarn Required
Makr SPECKL-D Yarn 100g balls
| 3-4 yrs | 4-5 yrs | 6-7 yrs | |
|---|---|---|---|
| C1 Taupe | 1 | 1 | 1 |
| C2 Moonlight | 1 | 1 | 1 |
| C3 Coral Splash | 1 | 1 | 1 |
| C4 Pink Spectrum | 1 | 1 | 1 |
| C5 Lavender Field | 1 | 1 | 1 |
| C6 Fresh Green | 1 | 1 | 1 |
Needles and Equipment
- 4.5mm double pointed knitting needles
- 4.5mm straight knitting needles
- Sullivans Round Buttons Clear 20mm 5pc
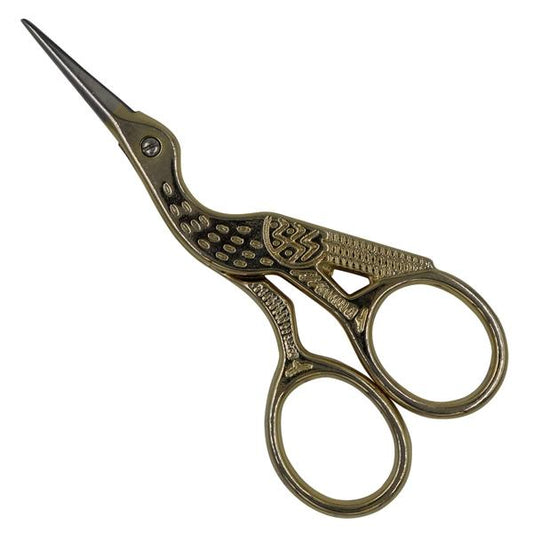
- Scissors
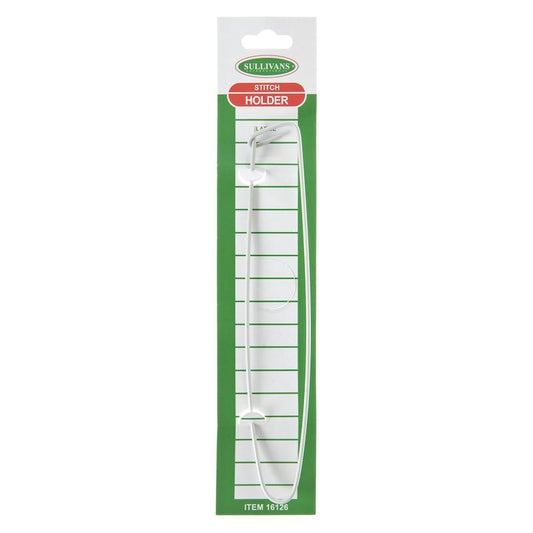
- Stitch Holder
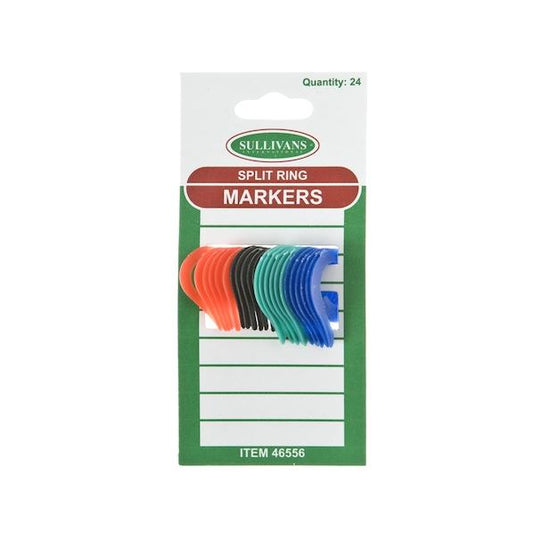
- Stitch Marker
- Wool needle for darning in ends
Tension
4.5mm: 20sts x 25 rows = 10cm x 10cm stst.
Knitting Abbreviation
| Beg: | beginning |
| C: | colour |
| K: | knit |
| RS: | right side |
| St(s): | stitch(es) |
Construction Notes
The jacket is worked side to side in knit stitch, using wrap and turn (short row) increases to add volume to the bottom portion of the jacket.
Work in stripes, changing colours every 2 rows (the 2 rows will be on the top according to the pattern) in the order the colours are listed in yarn required table. Except on the first and last 10 rows of the front bands. Here work 10 rows of a single colour.
When working sleeves, match the colour stripes to the body, keeping consistent with the neck stripes.
Wrap & Turn Increasing Technique on Body
To make jacket wider at the bottom, work inreasing technique as follows:
* Work 24 (26-28) sts, turn piece, slip first st as if to K, tighten thread and work return row, work 57 (65-70) sts, turn piece, slip first st as if to K, tighten thread and work return row, work 80 (90-98) sts, turn piece, slip first st as if to K, tighten thread and work return row, work 57 (65-70) sts, turn piece, slip first st as if to K, tighten thread and work return row, work 24 (26-28), turn piece, slip first st as if to K, tighten thread and work return row, work all 86 (96-104) sts, turn piece and work return row *. Repeat from *-*
1 repeat of the above = 12 rows on sts at the bottom and 2 rows on sts at the top.
Wrap & Turn Increasing Technique on Sleeves
* Work 51 (63-72) sts, turn piece, slip first st as if to K, tighten thread and work return row, work 74 (88-100) sts, turn piece, slip first st as if to K, tighten thread and work return row, work all 80 (94-106) sts, turn piece and work return row *. Repeat from *-*.
1 repeat of the above = 6 rows on sts at the bottom and 2 rows on sts at the top.
Jacket Pattern
Worked from side to side in garter st, beg on left front piece, then work sleeve, back piece, the other sleeve and right front piece.
Body and Sleeves
LOOSELY cast on 86 (96-104) sts on needle size 4.5mm with C1.
Work 10 rows garter st back and forth on needle = front band (first row = RS, this row beg at the bottom of jacket). Now work Wrap and Turn Increasing Technique – SEE Pg2 FOR BODY.
When piece measures approx 17 (18-19½) cm (measured mid piece from cast on row to the side) slip the first 52 (60-65) sts (towards bottom) on a stitch holder (= the side). Cut the thread and now beg again using doubld pointed needles, casting on 46 (58-67) new sts at the beg of row (for sleeve) = 80 (94-106) sts on row. Work remaining sts on row, turn piece and work return row. Continue with Wrap and Turn Increasing Technique – SEE Pg2 FOR SLEEVES.
When piece measures 18 (18-20) cm from where new sts were cast on for sleeve (measured where widest) cast off the first 46 (58-67) sts on next row from RS, work remaining sts on row, turn piece and work return row and now work the 52 (60-65) sts from stitch holder back on needle = 86 (96-104) sts. Insert a marker in the middle st on row and continue with Wrap and Turn Increasing Technique – SEE Pg2 FOR BODY PIECE.
Using the same colour to join sides, when piece measures 30 (32-35) cm (measured mid piece from marker) slip the first 52 (60-65) sts (towards bottom) on a stitch holder (= the other side).
Cut the thread and beg again by casting on 46 (58-67) new sts using double pointed needles, at the beg of row (for sleeve) = 80 (94-106) sts on row. Work remaining sts on row and work return row. Continue with Wrap and Turn Increasing Technique – SEE Pg2 FOR SLEEVE – until sleeve measures the same as the first sleeve; keeping neck stripes consistent.
On next row from RS cast off the first 46 (58-67) sts and work remaining sts on row. Turn piece and work return row and now work the 52 (60-65) sts from stitch holder back on needle = 86 (96-104) sts. Continue with Wrap and Turn Increasing Teqchnique – SEE Pg2 BODY PIECE. Use the same colour to join sides.
When right front piece measure the same as left front piece (less the 10 rows on front band) work front band as follows (first row = RS): 4 rows on all sts, on next row cast off for 5 buttonholes as follows: work 18 (20-24) sts, cast off 2 sts, * work 14 (16-17) sts, cast off 2 sts *, repeat from *-* a total of 4 times, work the last 2 sts.
Turn piece and work return row, at the same time cast on 2 new sts over each buttonhole. Work 4 rows on all sts, cast off loosley.
To Finish
Sew under arm seams, edge to edge.
Sew buttons.