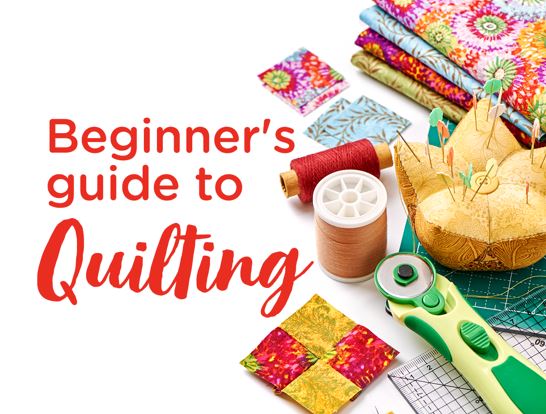
Quilting is the process of sewing 2 or more pieces of fabric together to make a thicker padded material, but there's more to quilting than that.
Quilts are historical documents, bearing maps, dates, names, cultures and stories. We go down in history to learn about quilting and find out how they were made to raise funds for a cause, celebrate love and culture, serve as family heirloom and keep us warm.
We can open a quilt and grasp what story it has to share.
You can share yours too!
If you’re a beginner looking for a simple pattern, this one's for you.
A Beginner's Guide To Quilting:
FOUR-PATCH QUILT
A 4 patch quilt is the simplest form of quilting where you put squares of the same sizes together. You can create one by:
- Making a patchwork quilt top
- Making a quilt sandwich
- Quilting it together
Step 1
Cut out 4 equal-sized squares of fabric. Start by doing 8x8-in or 12x12-in squares for your first quilt.
Step 2
Place 2 squares together. Pin them and sew the squares in 2 rows along the edge. You may use a sewing machine or sew by hand. Repeat with the others.
Step 3
Put the other pairs of squares right sides together, making sure the seams at the centre are aligned. Pin and sew together and then press the seam.
Step 4
Now that you have a batch of these 4-patch blocks, join them into larger groups of 4. Repeat until you get your desired size of quilt top.
Step 5
Prepare the 3 parts of your sandwich! Start by pressing the quilt top on both sides with an iron. This is also to make sure the seams are pressed in the neatest directions. Trim any trailing threads. Prepare your wadding and backing.
Step 6
Lay the pressed backing fabric right side down on a flat surface and smooth out any wrinkles.
Step 7
Lay the wadding on top of the backing.
Step 8
Lay the pressed quilt top right side up on top of the wadding, with backing and wadding showing all round. Fix the layers to the surface with masking tape.
Step 9
Tack all 3 layers together with long lengths of thread or with safety pins, working from the centre out in a grid pattern.


