🐰✨ Ready to add some cuddly charm to your Easter celebrations? Dive into our Knit and Cuddle Bunny tutorial! 🧶🌸 Using Lincraft's cozy Makr Shadow Marle yarn and soft sheepskin, you'll knit up the perfect companion for Easter snuggles. 🌟🐑
How to Make a Knit and Cuddle Bunny
Create a soft knitted bunny using a circular knitting machine, a small amount of stuffing and a few simple finishing techniques. The bunny begins as one knitted tube, which is gathered, folded and stitched to form the rounded body and upright ears.
An embroidered pink nose and mouth, black eyes and a small pompom tail complete the design. This quick Easter project takes approximately one hour and is suited to makers who are comfortable using a circular knitting machine.
Project: Knit and Cuddle Bunny
Pattern: D017
Craft type: Machine knitting
Difficulty: Intermediate
Approximate project time: 1 hour
What You Will Need
Materials
- Makr Shadow Marle yarn in Sheepskin, or a similar main colour
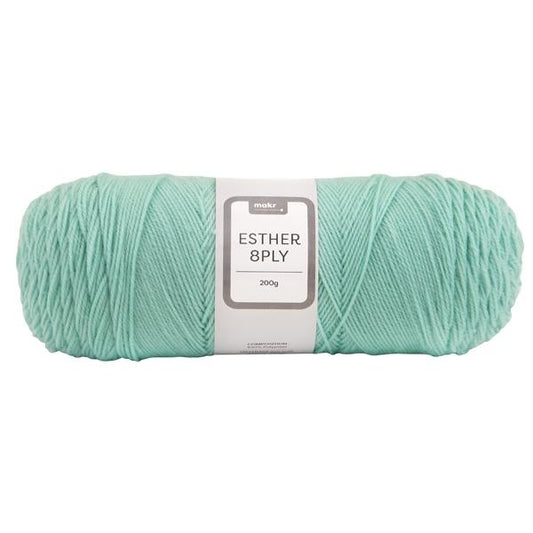
- Makr Esther yarn in Hot Pink for the nose and mouth
- Fairy Floss Fill or suitable toy stuffing
- Two black buttons for the eyes
- White sewing thread
Equipment
- Santro circular knitting machine
- Makr pompom maker
- Large yarn needle
- Hand-sewing needle
- Scissors
Construction Overview
The bunny is made in the following stages:
- Knit a tube measuring 75 machine rows.
- Gather and close both ends.
- Fold one closed end inside the other to form a double layer.
- Add stuffing to create the bunny’s head and body.
- Stitch across the upper section and divide it into two ears.
- Embroider the face and attach the eyes.
- Make and attach a small pompom tail.
Set Up the Knitting Machine
- Place the knitting machine on a stable, level surface and secure it according to the manufacturer’s instructions.
- Slide the switch on the side of the machine to T for tube knitting.
- Thread the main yarn through the tension guide and yarn feeder.
- Check that the handle turns smoothly and that each needle is moving correctly.
Cast On
Cast on using the method recommended for your circular knitting machine. Keep the yarn tail inside the machine so it does not become caught around the outside of the tube.
Apply gentle downward tension to the first few rows so the stitches form evenly around the full circumference.
Knit the Bunny Tube
- Turn the handle steadily and knit 75 complete rows.
- Allow the tube to fall freely through the centre of the machine.
- Check the knitted fabric regularly for missed or dropped stitches.
- Stop after the seventy-fifth row and leave a generous yarn tail for gathering the end.
Avoid turning the handle too quickly. A smooth, consistent rhythm will produce a more even knitted tube.
Cast Off the Tube
Remove the tube from the knitting machine using the cast-off method recommended for your machine.
Keep the live stitches secure and leave enough yarn at both ends to gather and close the tube.
Close the First End
- Thread the yarn tail through a large yarn needle.
- Pass the needle through each live stitch around the end of the tube.
- Pull the yarn firmly so the stitches gather into a tight circle.
- Sew across the opening once or twice for extra security.
- Fasten the yarn securely on the inside.
Close the Second End
Repeat the same gathering process at the opposite end of the knitted tube. Both ends should now be closed into neat circles.
Do not cut the remaining yarn tails too short, as they may be useful during assembly.
Fold the Tube to Form the Bunny
- Push one gathered end inside the other end of the tube.
- Adjust the fold until the doubled section forms a rounded body and head.
- Align the two gathered ends inside the bunny.
- Tie or stitch the two yarn ends together securely.
The doubled knitted fabric helps give the bunny a soft, substantial shape without requiring a separate lining.
Stuff the Bunny
- Add a handful of toy stuffing through the upper opening.
- Distribute the filling evenly to form a rounded lower body.
- Use slightly less stuffing near the top so the ear section remains flexible.
- Check the shape from all sides before sewing the opening.
The bunny should feel soft and cuddly rather than tightly packed. Overfilling may distort the stitches and make the ears difficult to shape.
Shape the Head and Ears
- Sew horizontally across the knitted tube immediately above the stuffing. This secures the filling and defines the base of the ears.
- Sew across the upper edge if necessary to close any remaining opening.
- Find the centre of the upper section.
- Sew vertically down the centre of the upper section to divide it into two ears.
- Pull the centre stitching gently so the ears curve slightly outwards.
Embroider the Nose
- Thread the hot pink yarn onto a yarn needle.
- Position the nose near the centre of the bunny’s face.
- Embroider a small inverted triangle using several closely placed stitches.
- Build up the embroidery until the knitted fabric underneath is covered.
Embroider the Mouth
From the lower point of the nose, work a short vertical stitch downwards. Add a small horizontal or gently curved stitch at the lower end to create an upside-down T-shaped mouth.
Secure the yarn inside the bunny and hide the remaining end within the stuffing.
Add the Eyes
- Position the two black buttons evenly above and to either side of the nose.
- Check the placement from a distance before sewing.
- Use strong white thread to sew each button securely through the knitted fabric.
- Knot the thread firmly and hide the ends inside the bunny.
For a child-safe alternative, embroider each eye with several firm black yarn stitches.
Make the Pompom Tail
- Follow the instructions supplied with the pompom maker.
- Make a small, firm pompom using the main yarn or a coordinating shade.
- Trim the pompom into a neat, rounded shape.
- Position it at the centre back of the bunny.
- Sew through the centre tie of the pompom several times to attach it securely.
Finishing the Bunny
- Check the gathered base and upper seams.
- Reinforce any loose ear-shaping stitches.
- Check that the eyes and pompom are securely attached.
- Hide all remaining yarn and thread ends inside the bunny.
- Gently reshape the body, cheeks and ears by hand.
Alternative Yarns for This Project
The original project uses a smooth marled yarn suitable for a circular knitting machine. A substitute should feed easily through the machine and produce a flexible tube without loose stitches.
- 8 ply acrylic – an affordable, easy-care option with a broad colour range.
- 8 ply anti-pilling acrylic – provides a smooth finish and is practical for a frequently handled toy.
- 8 ply wool and acrylic blend – creates a warmer, springier fabric with good shape recovery.
- 8 ply machine-washable wool – offers softness and a natural finish.
- Light 10 ply yarn – may be suitable for some circular knitting machines but should be tested before beginning.
- Marled or lightly variegated yarn – adds subtle colour variation similar to the original design.
Choosing the Best Substitute
Check the recommended yarn thickness for your knitting machine. A yarn that is too thick may jam the needles, while very fine yarn may create an open fabric through which the filling can show.
Smooth, evenly spun yarns are generally easiest to use. Avoid yarns with large slubs, knots, sequins or loose fibres that may catch in the machine.
Colour Ideas
- Cream with a pink nose
- Soft grey with white facial details
- Caramel or warm brown
- Pastel pink, blue, lilac or mint
- Marled neutral yarn for a handmade rustic look
- White body with contrasting inner-ear embroidery
- Rainbow or self-striping yarn for a playful version
Care
Follow the yarn-care instructions. Spot cleaning is generally the safest option when the bunny includes buttons or a pompom.
When washing is required, place the bunny in a laundry bag and use a gentle cycle only if all materials are machine washable. Reshape the ears and body while damp and allow the bunny to dry thoroughly.