How to Make the Everlasting Infinity Scarf
Create a colourful infinity scarf quickly using a circular knitting machine and one ball of self-striping cake yarn. The scarf is knitted as a long tube, closed at both ends and then joined into a continuous loop.
This project is ideal for makers who are comfortable using a knitting machine and want a fast, wearable project with minimal finishing.
Project: Everlasting Infinity Scarf
Pattern: D020
Craft type: Machine knitting
Difficulty: Intermediate
Approximate project time: 1.5 hours
What You Will Need
Materials
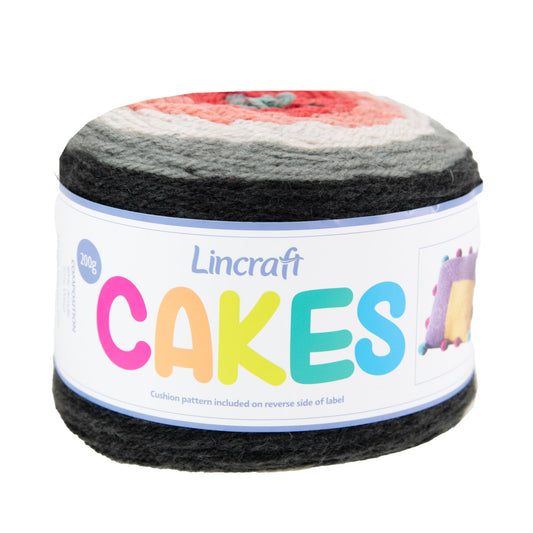
- 1 ball of Lincraft Cakes yarn in Yellow/Orange Kirby, or a similar self-striping cake yarn
- Waste yarn in two contrasting colours
Equipment
- Makr circular knitting machine
- Large yarn needle
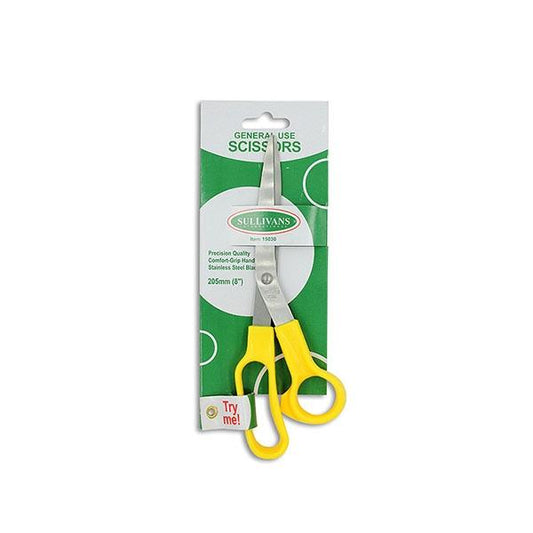
- Scissors
Why Waste Yarn Is Used
Waste yarn is knitted at both ends of the scarf to hold the live stitches securely while the main yarn is removed from the machine.
Once the ends have been closed, the waste yarn can be carefully removed, leaving a neat edge made from the main yarn.
Set Up the Knitting Machine
- Position the knitting machine on a stable, flat surface.
- Slide the mode switch to T for tube knitting.
- Check that the handle turns smoothly and that all hooks are moving correctly.
Cast On With Waste Yarn
- Thread the first waste yarn through the tension guide and yarn guide.
- Cast on according to the instructions for your knitting machine.
- Turn the handle steadily and knit 15 complete rounds.
Keep the starting tail inside the tube so it does not catch around the outside of the machine.
Change to the Main Yarn
- Remove the waste yarn from the tension gauge and yarn guide.
- Place the waste-yarn tail inside the centre of the machine.
- Thread the cake yarn through the tension gauge and yarn guide.
- Begin knitting with the main yarn, taking care not to drop any stitches during the changeover.
Knit the Scarf Tube
Continue turning the handle at a steady pace and use the entire ball of cake yarn.
Allow the knitted tube to fall freely through the centre of the machine. Do not allow it to bunch underneath, as this can pull on the stitches and affect the tension.
Check the hooks regularly to make sure every stitch is forming correctly.
Prepare the Second End
- When the cake yarn is almost finished, stop with approximately 60 cm of yarn remaining.
- Remove the main yarn from the tension gauge and yarn guide.
- Place the remaining main-yarn tail inside the centre of the tube.
- Thread the second waste yarn through the machine.
- Knit another 15 rounds in waste yarn.
Remove the Scarf From the Machine
- Remove the waste yarn from the tension gauge and yarn guide.
- Place its tail inside the centre of the tube.
- Continue turning the handle clockwise so the stitches drop from the hooks.
- Continue until the entire tube has been released from the machine.
Support the scarf as it comes off the machine so the live edge is not stretched unnecessarily.
Close the First End
- Lay the scarf flat and make sure the tube is not twisted.
- Thread the main-yarn tail through a large yarn needle.
- Whip stitch through the live main-yarn stitches close to the waste-yarn section.
- Pull the yarn gently to close the tube end.
- Secure the yarn firmly and remove the waste yarn.
Close the Second End
Repeat the same process at the opposite end:
- Thread the remaining main-yarn tail onto the yarn needle.
- Whip stitch through the live stitches.
- Pull the end closed and secure it.
- Remove the second waste-yarn section.
Join the Scarf Into a Loop
- Lay the full scarf flat and check once more that it is not twisted.
- Bring the two closed ends together.
- Whip stitch the ends securely to form one continuous loop.
- Work around the join twice if necessary for extra strength.
- Hide the yarn ends inside the tube.
Alternative Yarns for This Project
The original scarf uses one ball of self-striping cake yarn. A substitute should feed smoothly through the knitting machine and create a flexible, comfortable tube.
- 8 ply self-striping acrylic – an easy-care option that produces clear colour changes.
- 8 ply wool and acrylic blend – adds warmth while retaining durability and washability.
- 8 ply gradient cake yarn – creates long, gradual colour transitions similar to the original scarf.
- 8 ply anti-pilling acrylic – a practical choice for a scarf that will be worn frequently.
- Light 10 ply yarn – may be suitable for some machines, but should be tested carefully before beginning.
- Solid-colour yarn – creates a more understated scarf and can be combined manually to make colour blocks.
Choosing the Best Substitute
Check your knitting machine's recommended yarn range before substituting. Yarn that is too thick may jam the hooks, while very fine yarn may produce a loose or unstable fabric.
Smooth, evenly spun yarns usually work best. Avoid yarns with large knots, sequins, heavy slubs or loose fibres that may catch in the machine.
Colour Ideas
- Rainbow gradient
- Warm sunset shades
- Blues, greens and turquoise
- Neutral cream, beige and charcoal
- Alternating solid colour blocks
- One bright feature colour with two neutral shades
Care
Follow the care instructions on the yarn label. Gently reshape the scarf after washing and dry it flat.
Avoid hanging the wet scarf, as the weight of the knitted tube may stretch the join and alter the finished length.