.
. 
How to Knit Striped Egg Cosies
Add colour and personality to your breakfast table with these tall, striped knitted egg cosies. Each cosy is worked flat in stocking stitch, shaped gradually towards the pointed top and finished with a loose yarn tassel.
The project uses two main colours in alternating two-row stripes, with a third colour added at the top for the tassel. It is a quick and beginner-friendly way to practise colour changes, simple decreases and mattress-style seaming.
Project: Egg Cosies
Pattern: P154
Craft type: Knitting
Difficulty: Easy
Finished Measurements
| Approximate circumference | 14 cm |
|---|---|
| Approximate height without tassel | 20 cm |
What You Will Need
Yarn
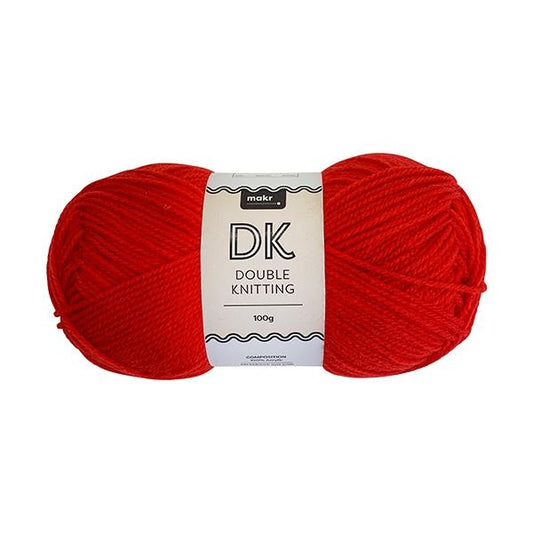
The original pattern uses Makr DK yarn in three colours:
- Colour 1: Main stripe colour
- Colour 2: Contrasting stripe colour
- Colour 3: Tassel colour
Only a small amount of each yarn is required for one cosy, making this a useful project for leftover yarn.
Needles and Equipment
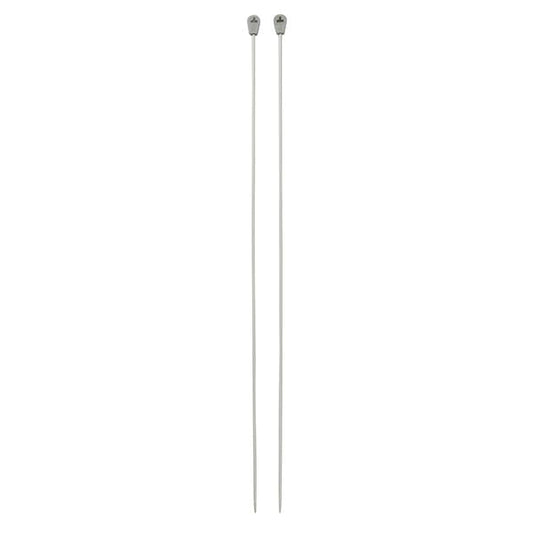
- One pair of 4 mm knitting needles, approximately 30 cm long
- Blunt wool or darning needle
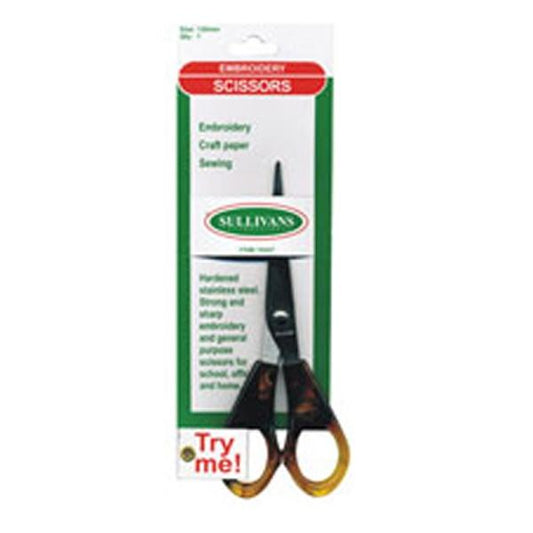
- Scissors
- Measuring tape
Tension
Using 4 mm needles, the original pattern lists:
22 stitches and 28 rows over 10 cm in stocking stitch.
Exact tension is not as critical as it would be for a fitted garment, but it will affect the circumference and height of the finished cosy.
Abbreviations
- C: Colour
- K: Knit
- K2tog: Knit two stitches together
- P: Purl
- St or sts: Stitch or stitches
- St st: Stocking stitch
- Tog: Together
Construction Overview
The egg cosy is made in three stages:
- Knit a striped tapered panel.
- Sew the side edges together.
- Add a loose tassel at the pointed top.
The knitting is worked flat. The two stripe colours are carried up the side of the work rather than cut after every colour change.
Choose Your Colours
Select two contrasting yarns for the body and a third yarn for the tassel. The original project shows a range of bold and playful combinations, including black and neutral, purple and yellow, blue and teal, lime and charcoal, and red and pink.
For clearly defined stripes, choose colours with a strong contrast in value. For a softer effect, use two shades from the same colour family.
Cast On
- Using Colour 1 and the long-tail cast-on method, cast on 30 stitches.
- Leave a short yarn tail for weaving into the side seam later.
Begin the Stripes
Rows 1–2
Using Colour 1:
- Knit the first row.
- Work the second row as directed for the stocking-stitch sequence.
The source states that each colour is worked for two rows at a time.
Shape the Cosy
Change to Colour 2 and begin the tapering:
- Knit one stitch.
- Knit the next two stitches together.
- Knit to the final three stitches.
- Knit the next two stitches together.
- Knit the final stitch.
Work the following row in purl.
Change back to Colour 1 and work two rows in stocking stitch.
Continue repeating this striped shaping sequence, decreasing one stitch near each edge on every Colour 2 knit row.
Continue to the Point
Repeat the decrease and stripe sequence until only 3 stitches remain.
The original pattern works up to approximately Row 56.
Knit the final three stitches together to close the top point.
Cut the yarn, leaving a tail approximately 20 cm long for sewing.
Sew the Cosy
- Place the knitted panel with the wrong side facing out.
- Align the two long side edges.
- Using the 20 cm yarn tail and a blunt wool needle, sew the edges together from the top to the lower edge.
- Keep the seam neat and flexible.
- Weave the carried yarn strands and remaining loose ends into the seam.
- Turn the cosy right side out.
Make the Tassel
Cut a length of Colour 3 measuring approximately 60 cm.
- Thread the yarn through a blunt darning needle.
- Pass the needle through the top point of the cosy.
- Leave a loop approximately 5 cm long.
- Secure the loop with a small stitch.
- Repeat until six loose loops or strands have been created.
- Cut through the loops where required and trim the yarn ends evenly.
The tassel can be left loose and wispy, as shown in the original design, or trimmed into a shorter, fuller finish.
Finishing
- Check that the side seam is secure.
- Weave in any remaining yarn ends.
- Gently shape the pointed top.
- Trim the tassel strands evenly.
- Place the cosy over an egg cup to check the fit.
Alternative Yarns for This Project
A suitable substitute should be a smooth DK or 8 ply yarn that can achieve approximately 22 stitches and 28 rows over 10 cm on 4 mm needles.
- 8 ply anti-pilling acrylic – practical, washable and available in a wide range of colours.
- 8 ply wool and acrylic blend – provides warmth, elasticity and easy care.
- 8 ply machine-washable wool – creates a warm, natural cosy with good stitch definition.
- 8 ply cotton – produces a crisp, structured cosy with less stretch.
- 8 ply cotton and acrylic blend – offers clear stitches with a softer feel than pure cotton.
- Leftover DK yarns – ideal for making a mixed collection of striped cosies.
Choosing the Best Substitute
Choose a smooth yarn that makes the colour changes easy to see and does not split while knitting.
Wool and acrylic will provide more stretch around the egg cup, while cotton will produce a firmer and more structured shape.
Avoid very fluffy, boucle or highly textured yarns, as these may obscure the stripes and make the side seam bulky.
Colour Ideas
- Black and oatmeal with a mint tassel
- Purple and yellow with a grey tassel
- Blue and teal with a red tassel
- Charcoal and lime with a lilac tassel
- Grey and pale blue with a cobalt tassel
- Pink and burgundy with a green tassel
- Brown and aqua with a pale pink tassel
- Pastel rainbow stripes
- Traditional Easter shades in yellow, lilac and mint
Alternative Styling Ideas
- Use three or four stripe colours instead of two.
- Make the tassel in several colours.
- Add a small pompom instead of loose tassel strands.
- Embroider initials near the lower edge.
- Use coordinating cosies as Easter table place markers.
- Make a matching set in each family member’s favourite colours.
Care
Follow the care instructions on the selected yarn label. Hand wash gently in cool water where possible.
Reshape while damp and dry flat. Arrange the tassel strands before the cosy dries completely.