How to Knit a Love Heart Emoji
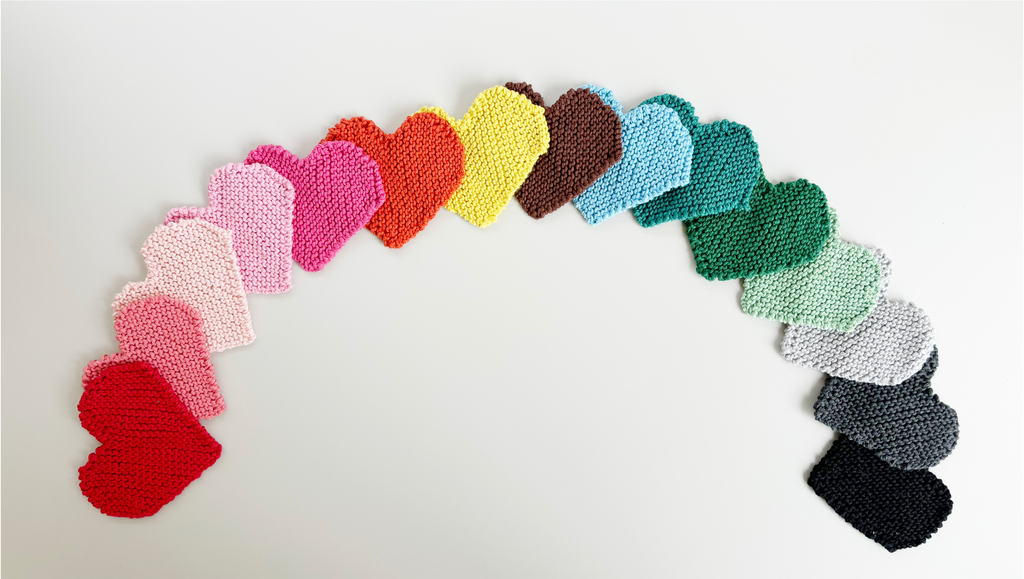
Create a cheerful knitted heart using simple garter stitch, increases and decreases. The heart is worked sideways rather than from the lower point upwards, allowing the shape to form gradually across the rows.
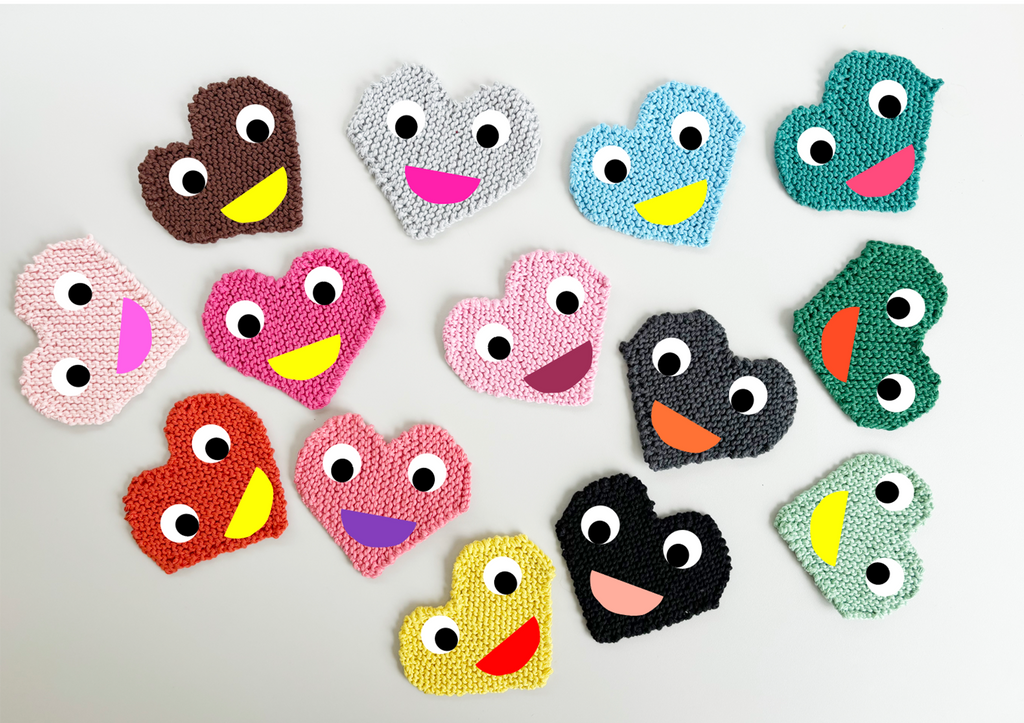
Leave the finished heart plain for a simple decoration, or add felt eyes and a mouth to turn it into a playful emoji. The project is quick to knit and is ideal for Valentine’s Day, gifts, children’s crafts or colourful home décor.
Project: Love Heart Emoji
Pattern: P387
Craft type: Knitting
Difficulty: Easy
Finished Measurement
The completed heart measures approximately 12 cm wide.
What You Will Need
Yarn
- 1 ball of Makr Organic Cotton
Only a small amount is required for one heart, so this is also a suitable project for leftover 8 ply cotton yarn.
Needles and Equipment
- One pair of 4 mm knitting needles
- Wool needle for weaving in ends
- Scissors
- Blocking mat and pins, if available
Optional Emoji Face
- 20 mm stick-on or sew-on joggle eyes
- White, black and coloured felt fabric
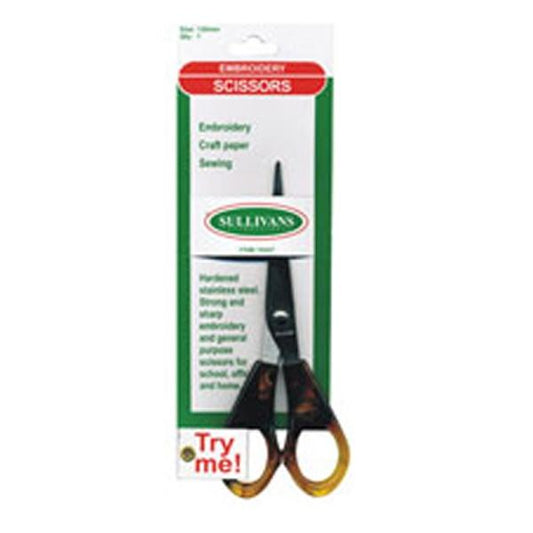
- Embroidery scissors
- Fabric glue or sewing thread
Tension
Using 4 mm needles, the original pattern lists:
18 stitches and 36 rows over 10 cm in garter stitch.
Exact tension is less critical than for a fitted garment, but it will affect the size and proportions of the finished heart.
Abbreviations
- CO: Cast on
- K: Knit
- Kfb: Knit into the front and back of the same stitch
- SSK: Slip two stitches knitwise, then knit them together through the back loops
- K2tog: Knit two stitches together
- St or sts: Stitch or stitches
Construction Overview
The heart is worked sideways in five shaping sections:
- Increase at both edges to form the first rounded section.
- Increase at one edge to widen the upper curve.
- Increase at one edge while decreasing at the other.
- Reverse the shaping to form the opposite half.
- Decrease at both edges to finish the second rounded section.
Every row is knitted, creating a thick and textured garter-stitch fabric.
Begin the First Curve
Row 1
- Cast on 7 stitches.
- Knit every stitch.
You should have 7 stitches.
Row 2
- Knit into the front and back of the first stitch.
- Knit to the final stitch.
- Knit into the front and back of the final stitch.
You should have 9 stitches.
Row 3
Knit every stitch.
Repeat Rows 2 and 3 three more times, increasing at both ends of each shaping row.
You should have 15 stitches at the end of the repeats.
Widen the First Upper Section
Row 10
- Knit to the final stitch.
- Knit into the front and back of the final stitch.
You should have 16 stitches.
Row 11
Knit every stitch.
Repeat Rows 10 and 11 two more times.
You should have 18 stitches at the end of the repeats.
Shape the Centre Section
Row 16
- Work one SSK decrease at the beginning of the row.
- Knit to the final stitch.
- Knit into the front and back of the final stitch.
The decrease and increase balance each other, so the stitch count remains at 18 stitches.
Row 17
Knit every stitch.
Repeat Rows 16 and 17 three more times.
This moves the shaping gradually across the work while maintaining the same stitch count.
Reverse the Shaping
Row 24
- Knit into the front and back of the first stitch.
- Knit until two stitches remain.
- Knit the final two stitches together.
You should still have 18 stitches.
Row 25
Knit every stitch.
Repeat Rows 24 and 25 three more times.
Narrow the Second Upper Section
Row 32
- Knit until two stitches remain.
- Knit the final two stitches together.
You should have 17 stitches.
Row 33
Knit every stitch.
Repeat Rows 32 and 33 two more times.
You should have 15 stitches at the end of the repeats.
Complete the Heart
Row 38
- Work one SSK decrease at the beginning of the row.
- Knit until two stitches remain.
- Knit the final two stitches together.
You should have 13 stitches.
Row 39
Knit every stitch.
Repeat Rows 38 and 39 three more times until 7 stitches remain.
Cast off the remaining stitches.
Finish and Shape the Heart
- Fasten off securely.
- Weave in the cast-on and cast-off yarn tails.
- Lay the heart flat and gently shape the outer curves.
- Define the centre dip with your fingers.
- Lightly wet block or steam according to the yarn-care directions.
- Allow the heart to dry completely before adding a face.
Add an Optional Emoji Face
The project image on page 1 shows one heart decorated with large white and black eyes and a bright yellow smiling mouth. The other hearts are left plain in different shades of pink and red.
Felt Eyes
- Cut two matching circles from white felt.
- Cut two smaller circles from black felt.
- Glue or sew each black circle onto a white circle.
- Position the completed eyes evenly on the heart.
- Attach securely with fabric glue or sewing thread.
Joggle Eyes
Stick-on or sew-on joggle eyes may be used instead of felt. Sew-on eyes are generally more secure for an item that will be handled regularly.
Felt Mouth
- Draw the mouth shape lightly on the reverse of the felt.
- Cut it out using small embroidery scissors.
- Position the mouth beneath the eyes.
- Glue or sew it firmly into place.
Alternative Facial Expressions
- Smiling face
- Winking face
- Heart-shaped eyes
- Surprised expression
- Sleepy closed eyes
- Blushing cheeks
- A simple embroidered word or initial instead of a face
Alternative Yarns for This Project
A suitable substitute should be a smooth DK or 8 ply yarn that can achieve approximately 18 stitches and 36 rows over 10 cm in garter stitch.
- 8 ply cotton – provides a firm shape and clear garter stitch definition.
- 8 ply mercerised cotton – creates a crisp heart with a slight sheen.
- 8 ply cotton and acrylic blend – offers structure with a slightly softer feel.
- 8 ply anti-pilling acrylic – an affordable, washable option available in many colours.
- 8 ply wool and acrylic blend – creates a softer, springier heart.
- 8 ply machine-washable wool – gives the heart a warm, natural finish.
Choosing the Best Substitute
Cotton is particularly suitable when the heart will be used as a coaster, decoration or appliqué because it lies flat and holds its shape well.
Acrylic and wool blends create a softer and more flexible heart, making them suitable for garlands, cushions and children’s decorations.
Avoid very fluffy or heavily textured yarns, as they may obscure the garter stitch and make felt facial features more difficult to attach.
Colour Ideas
- Classic red
- Bright fuchsia
- Blush pink
- Coral or watermelon
- Burgundy or wine
- Lavender or lilac
- Rainbow or self-striping yarn
- A collection of tonal pink and red shades
Ways to Use the Finished Heart
- Valentine’s Day decoration
- Gift tag or card embellishment
- Coaster
- Garland or bunting
- Bag or garment appliqué
- Fridge decoration with a magnet attached
- Patch for a cushion or blanket
- Children’s emotion or expression activity
Care
Follow the care instructions on the selected yarn label. Spot clean where possible when felt or glued decorations have been added.
If washing is required, hand wash gently, reshape the heart while damp and dry it flat. Do not tumble dry unless all yarn and decorative materials are suitable.