How to Crochet the Big Bear Snuggler
Part blanket, part cushion and part cuddly companion, the Big Bear Snuggler is an oversized crochet project made for cosy afternoons and imaginative play. The legs, body and head are worked as one continuous piece, while the arms and ears are crocheted separately and sewn into position.
Super-chunky sherpa yarn gives the bear its soft, textured finish and helps the project grow quickly, making it an approachable project for confident beginners.
Project: Big Bear Snuggler
Pattern: P400
Craft type: Crochet
Difficulty: Easy
Finished Measurements
| Finished length | Approximately 130 cm |
|---|---|
| Chest width | Approximately 30 cm |
What You Will Need
Yarn
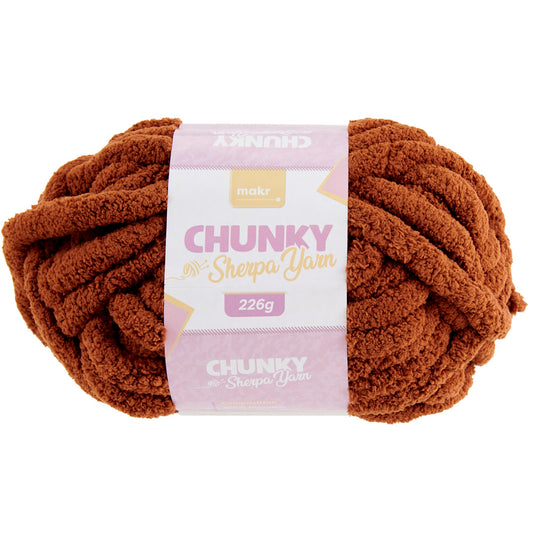
The original pattern uses Makr Chunky Sherpa in 226 g balls:
- Main colour: 11 balls of Amber Brown
- Contrast colour: 1 ball of Mid-Grey for the nose and mouth
Hook and Equipment
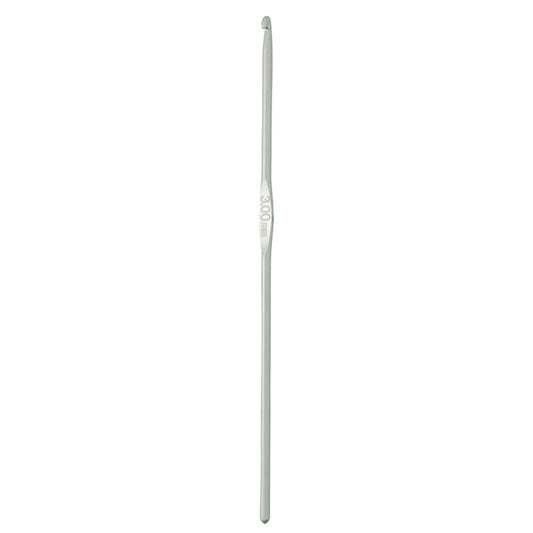
- 25 mm crochet hook
- Removable stitch markers
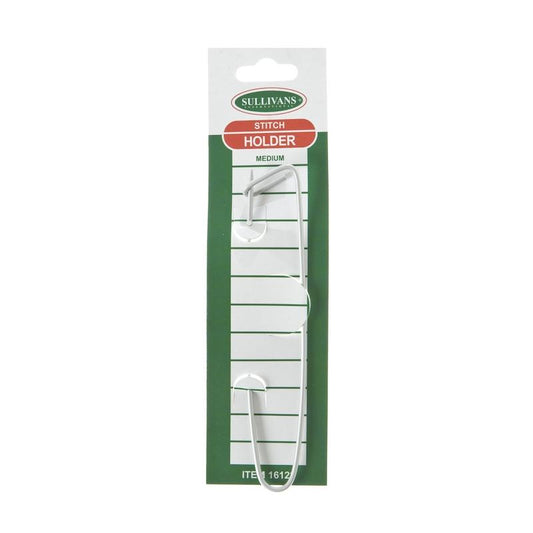
- Stitch holder
- Wool needle
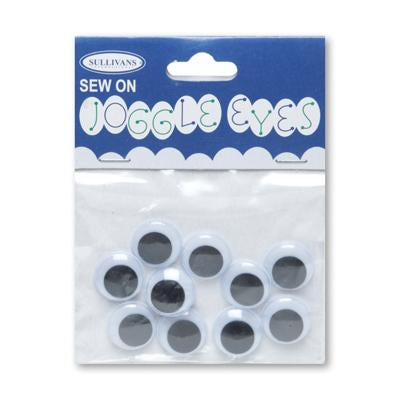
- 30 mm sew-on eyes
- Suitable toy filling
- Scissors
Tension
Using a 25 mm crochet hook, the original pattern uses the following tension:
2 double crochet stitches and 2 rows measure approximately 10 cm square.
Because this is an oversized soft toy, exact tension is less critical than it would be for a fitted garment. However, a significant change in tension will alter the finished size and the amount of yarn required.
Abbreviations
- BLO: Back loop only
- Ch: Chain
- Dc: Double crochet
- Htr: Half treble crochet
- Sc: Single crochet
- St or sts: Stitch or stitches
- Yoh: Yarn over hook
This pattern uses British crochet terminology. Check the abbreviations carefully when comparing the instructions with tutorials written in American crochet terms.
Working a Half Treble Decrease
The shaping uses a half treble crochet two-together decrease.
- Yarn over and insert the hook into the next stitch.
- Pull up a loop.
- Insert the hook into the following stitch and pull up another loop.
- Yarn over and pull through all four loops on the hook.
Construction Overview
The bear is made in the following stages:
- Crochet two legs.
- Join the legs to form the lower body.
- Continue upwards through the body and head.
- Add and secure the eyes and embroidered facial features.
- Crochet two ears.
- Crochet two arms.
- Stuff and assemble the bear.
Crochet the Legs
Each leg begins with a magic ring. Increase through the first few rounds to form the broad foot, then work a series of decreases to shape the ankle.
Continue working straight to form the lower leg before increasing again towards the top. Use an additional stitch marker during the foot shaping to identify the top centre of each foot.
Fasten off the first leg, leaving a long yarn tail for sewing. Complete the second leg in the same way, but leave the working yarn attached.
Join the Legs and Begin the Body
Position both legs side by side with the feet facing forwards. Use the centre-foot markers to check that they are aligned correctly.
Crochet around the first leg, join through the marked centre stitches and continue around the second leg. Complete the remaining stitches of the first leg to create one continuous round.
Check the stitch count and ensure neither leg has twisted before continuing.
Work several rounds for the lower body, then decrease evenly to create a gentle narrowing through the torso.
Pause after the first body section and use the long yarn tail from the first leg to close the opening between the legs. Secure and hide the yarn end before continuing.
Crochet the Head
Continue directly from the body. Increase evenly over the first head rounds to create a broad, rounded shape.
Work several rounds without shaping, then decrease gradually towards the top of the head.
Attach the eyes between the indicated head rounds, spacing them evenly. Check their position from the front before securing them permanently.
Continue decreasing until only a small opening remains. Add the final stuffing before closing the top securely.
Create the Face
Using the contrast yarn, embroider a triangular nose at the centre of the face. Work several stitches over the same area until the nose has the desired shape and coverage.
Add a horizontal stitch beneath the nose, then embroider two curved lines to form the mouth.
Hide the beginning and finishing knots inside the stuffed head.
Crochet the Ears
Make two ears, beginning each one with a magic ring.
Increase in the second round, then continue working straight to form a short rounded tube. Fasten off each ear, leaving a long yarn tail for assembly.
Crochet the Arms
Each arm begins with a magic ring. Increase to form the paw, work several rounds straight, then decrease to create the wrist.
Continue without further shaping to form the long arm. Fasten off, leaving enough yarn for sewing.
Stuffing the Bear
Add filling gradually as the project progresses. The bear should feel soft and huggable rather than tightly packed.
Use slightly more filling in the head and paws to help maintain their shape. Keep the body and long limbs softer so the finished snuggler remains flexible.
Assemble the Snuggler
- Flatten the open top of each arm and close it with whip stitch.
- Position one arm on either side of the body, close to the base of the head.
- Sew around each arm attachment securely.
- Flatten the lower edge of each ear and close it with whip stitch.
- Position the ears on either side of the head, curving them slightly forwards.
- Sew the ears firmly into place.
- Check all seams and attachments, then weave in the remaining ends.
Alternative Yarns for This Project
The original design uses Makr Chunky Sherpa, an extremely thick, textured yarn. A suitable replacement must create a similarly soft, substantial fabric with a 25 mm hook.
- Jumbo chenille yarn – creates a plush, soft finish and is one of the closest substitutes for sherpa yarn.
- Jumbo blanket yarn – offers durability, softness and easy-care fibres for an oversized cuddly project.
- Super-chunky teddy or fleece yarn – recreates the textured appearance of the original bear.
- Two strands of super-chunky chenille held together – may achieve the required thickness when a suitable jumbo yarn is not available.
- Jumbo recycled polyester yarn – provides a contemporary alternative, although its finished weight should be checked carefully.
Choosing the Best Substitute
Look for a jumbo yarn suitable for a crochet hook between approximately 20 mm and 25 mm. The finished swatch should be thick enough to contain the filling without creating large gaps.
Choose a yarn that can withstand repeated handling. Very loosely spun fibres may shed, break or become matted during use.
Colour Ideas
- Classic brown with a grey or cream muzzle
- Warm caramel with chocolate facial details
- Soft cream with tan ears and paws
- Charcoal with a pale grey muzzle
- Pastel pink, blue or lilac for a playful nursery version
Care
Follow the washing directions on the yarn label. Because of the size and weight of the finished bear, spot cleaning may be the most practical option.
After washing, reshape the bear and allow it to dry thoroughly while lying flat. Avoid hanging the wet snuggler, as the weight may stretch the body and limbs.