Another option among our DIY shopping bag projects is this Fold Up bag. Can carry a lot of stuff, plus it can be folded and stored neatly when not in use! What a convenience!
How to Make a Fold-Up Shopping Bag
Sew a reusable shopping bag that folds neatly into its own buttoned flap. The finished bag is lightweight, practical and compact enough to keep in a handbag, car or backpack for everyday shopping.
This easy sewing project takes approximately one hour or more and includes a boxed base, long handles and a built-in storage flap.
Project Details
- Project number: A540
- Difficulty: Easy
- Approximate project time: 1 hour or more
What You Will Need
Materials
- 1 metre of calico
- Printed fold-up bag flap template
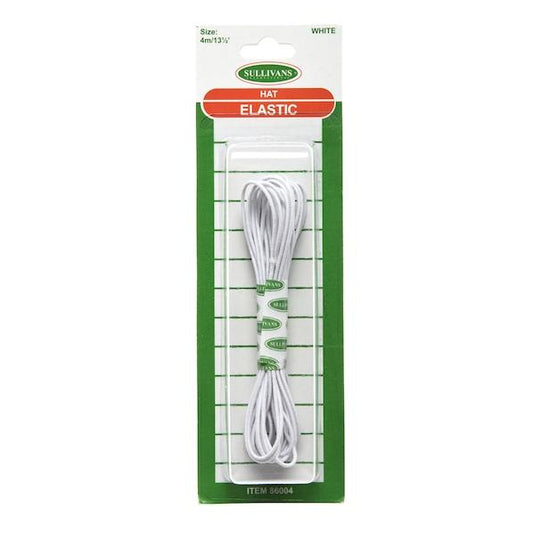
- Small amount of hat elastic
- Matching thread
- 1 large button
Equipment
- Paper scissors
- Fabric scissors
- Pinking shears
- Iron and ironing board
- Pins
- Ruler
- Tailor’s chalk
- Sewing machine
Cut the Fabric Pieces
- Use the supplied flap template to cut two matching fabric flap pieces.
- Cut two bag body pieces measuring 50 cm × 40 cm.
- Cut two handle strips measuring 90 cm × 10 cm.
Make the Handles
- Fold each long raw edge of one handle strip towards the wrong side by approximately 1 cm and press.
- Fold the strip in half lengthwise so the raw edges are enclosed.
- Press the handle flat and repeat with the second strip.
- Topstitch close to both long edges of each handle.
Make the Folding Flap
- Place the two flap pieces together with right sides facing.
- Position the loop of hat elastic between the layers at the marked elastic placement point, with the loop inside and the raw ends extending beyond the seam.
- Sew around the flap with a 1 cm seam allowance, leaving the marked opening unsewn.
- Clip the curved seam allowances, turn the flap right side out and press.
- Topstitch around the outer edge, closing the turning opening as you sew.
- Sew the button onto the marked position on the flap.
Attach the Flap
- Place the flap on the right side of one bag body piece, with the button positioned closest to the top edge.
- Centre the flap approximately 12 cm from the top and side edges.
- Sew the flap to the bag body along the marked stitching line on the template.
Assemble the Bag
- Cut a 5 cm × 5 cm square from each lower corner of both bag body pieces.
- Place the bag pieces together with right sides facing.
- Sew the side and bottom edges with a 1 cm seam allowance.
- To box each lower corner, bring the side seam and bottom seam together. Pin the two cut edges and sew across them.
- Repeat for the second corner.
Attach the Handles and Finish
- Fold the top edge of the bag towards the wrong side by 1 cm, then fold it again by 5 cm. Press in place.
- Slide the handle ends beneath the folded edge, positioning them approximately 7 cm from each side edge.
- Fold the handles upwards towards the top edge of the bag.
- Pin the handles and folded edge securely.
- Sew around the upper and lower edges of the folded band.
- Turn the bag right side out and press.
Fold the Bag for Storage
Fold the empty bag into a compact rectangle, wrap the attached flap around it and secure the elastic loop over the button.
Helpful Tips
Reinforce the handle attachment points with additional stitching, as these areas will carry most of the bag’s weight.
The flap template on page 3 includes the 1 cm seam allowance, button position, elastic placement and stitching line.